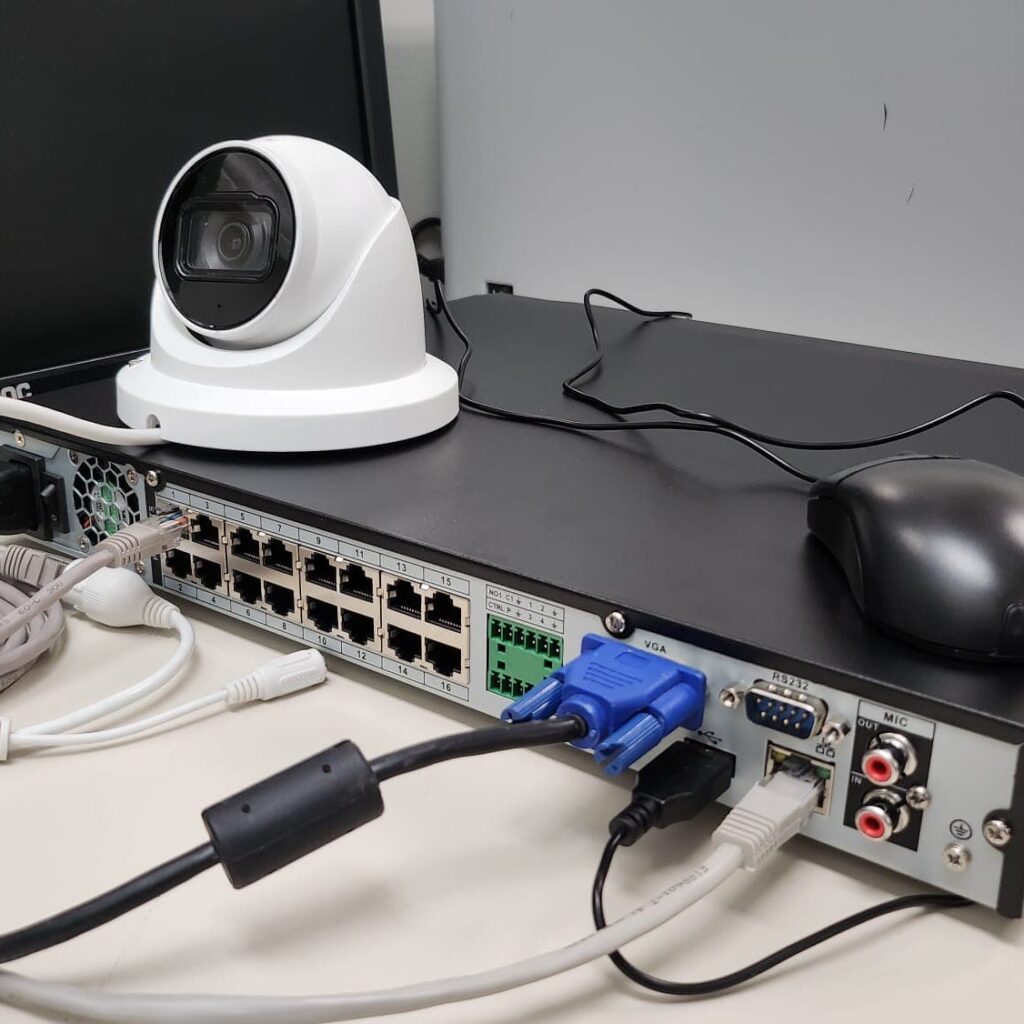
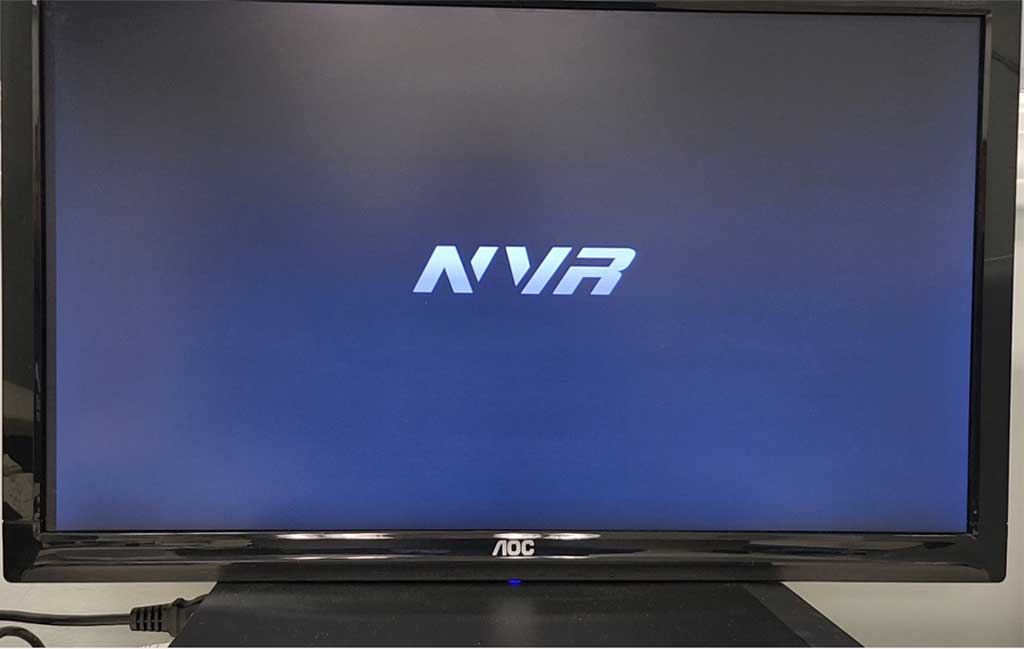
1 – Turn on your recorder and wait until the setup screen appears. Be patient, this process may take a few minutes. Do NOT turn off or restart the recorder.
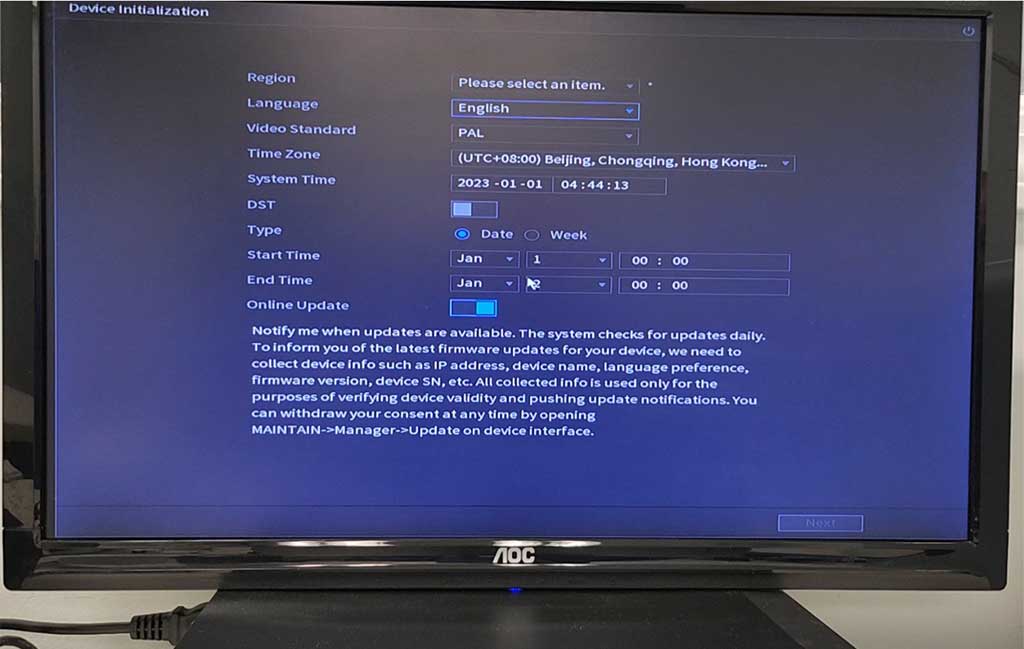
2 – Select the options related to your region, language, time zone, etc. Then click on next…
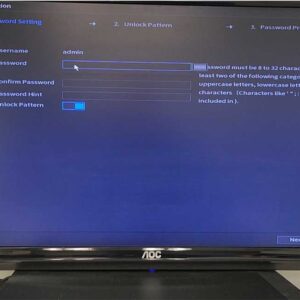
3 – Create a password for the administrator account. We recommend creating a strong password with a mix of Capital letters, symbols, and numbers.
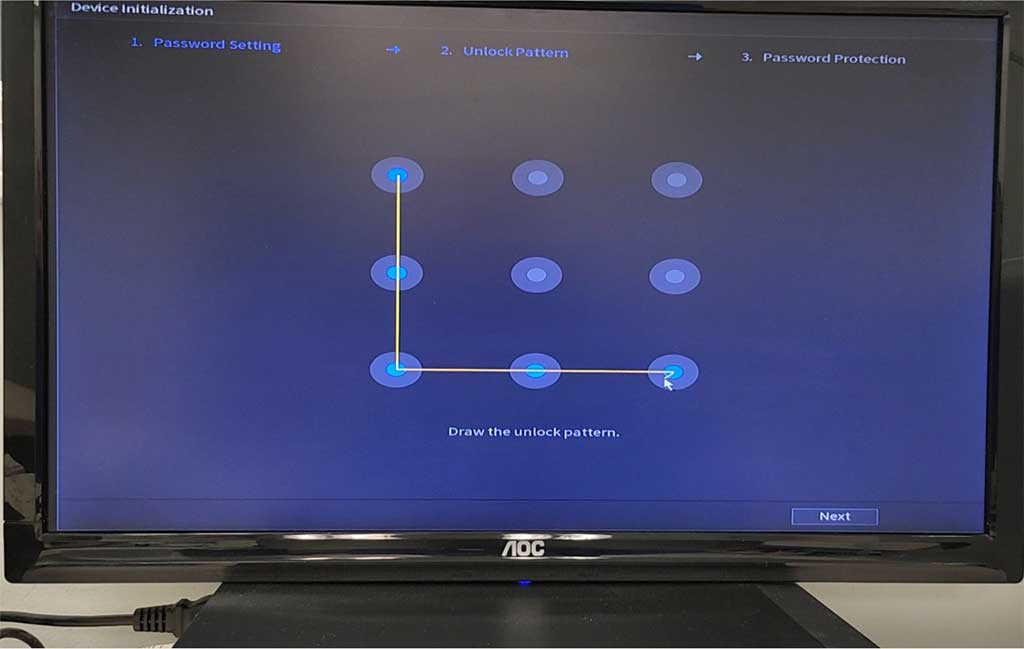
4 – Draw a pattern to unlock administrative features. You must draw the pattern twice to assure that you got it right.
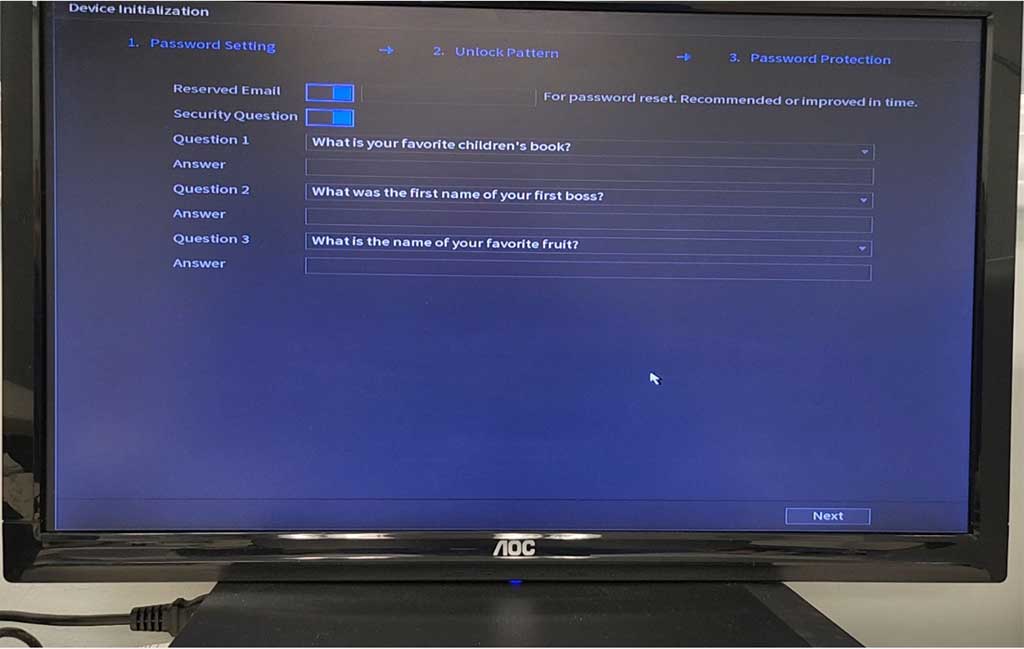
5 – Enter your email for password reset, then enter the answer for the available security questions.
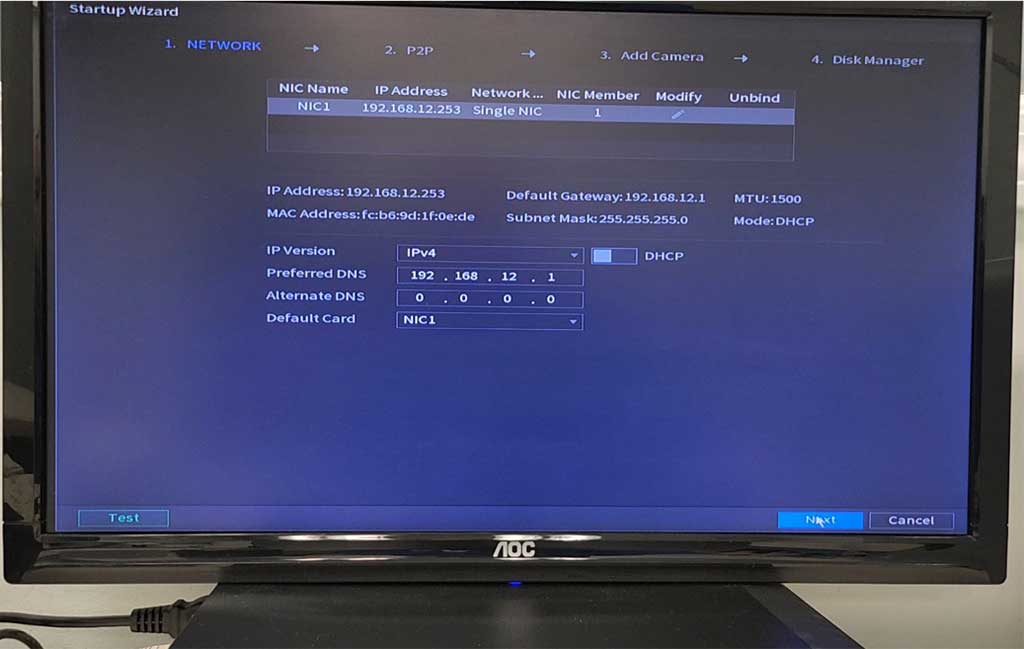
6 – Enter your network information. If you do not know how to configure IP settings, we recommend you enabling the DHCP option.
7 – For remote access to your cameras using your mobile device, enable the P2P option. Click here to watch our video showing how to install the mobile app to access your cameras.

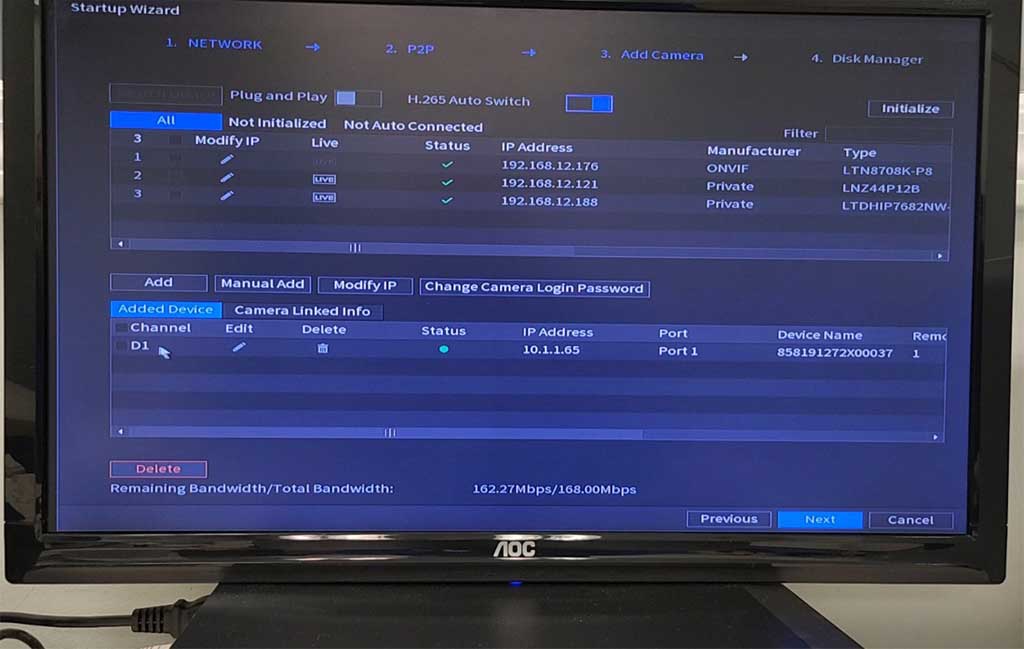
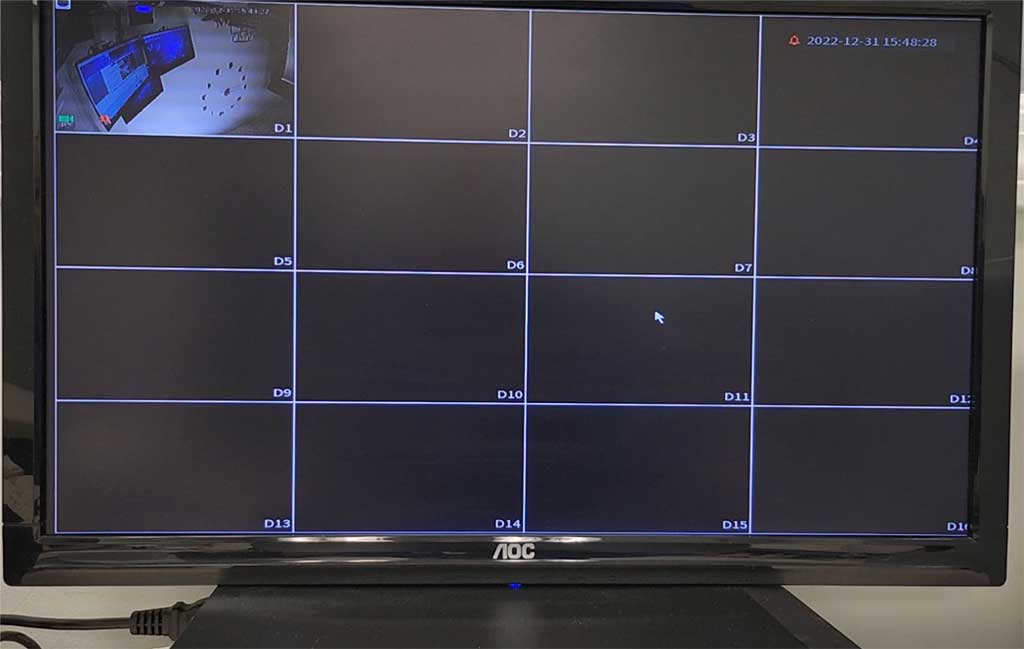
8 – At this point the recorder will start adding all cameras that are connected to it. The amount of cameras listed here should match the total amount of cameras connected to the recorder. In this tutorial we only have one camera connected to the NVR.
9 – After all cameras are added, you will receive a “Thank you for purchasing our product” message. Simply click on OK. Then all cameras should show up on the screen. To see a camera in full screen mode, double click on it. To return the multiple view mode, double click anywhere on the screen. That’s all folks! Enjoy your new Dahua NVR
To learn more about Dahua products and tips, visit the Dahua Technology YouTube Channel.